
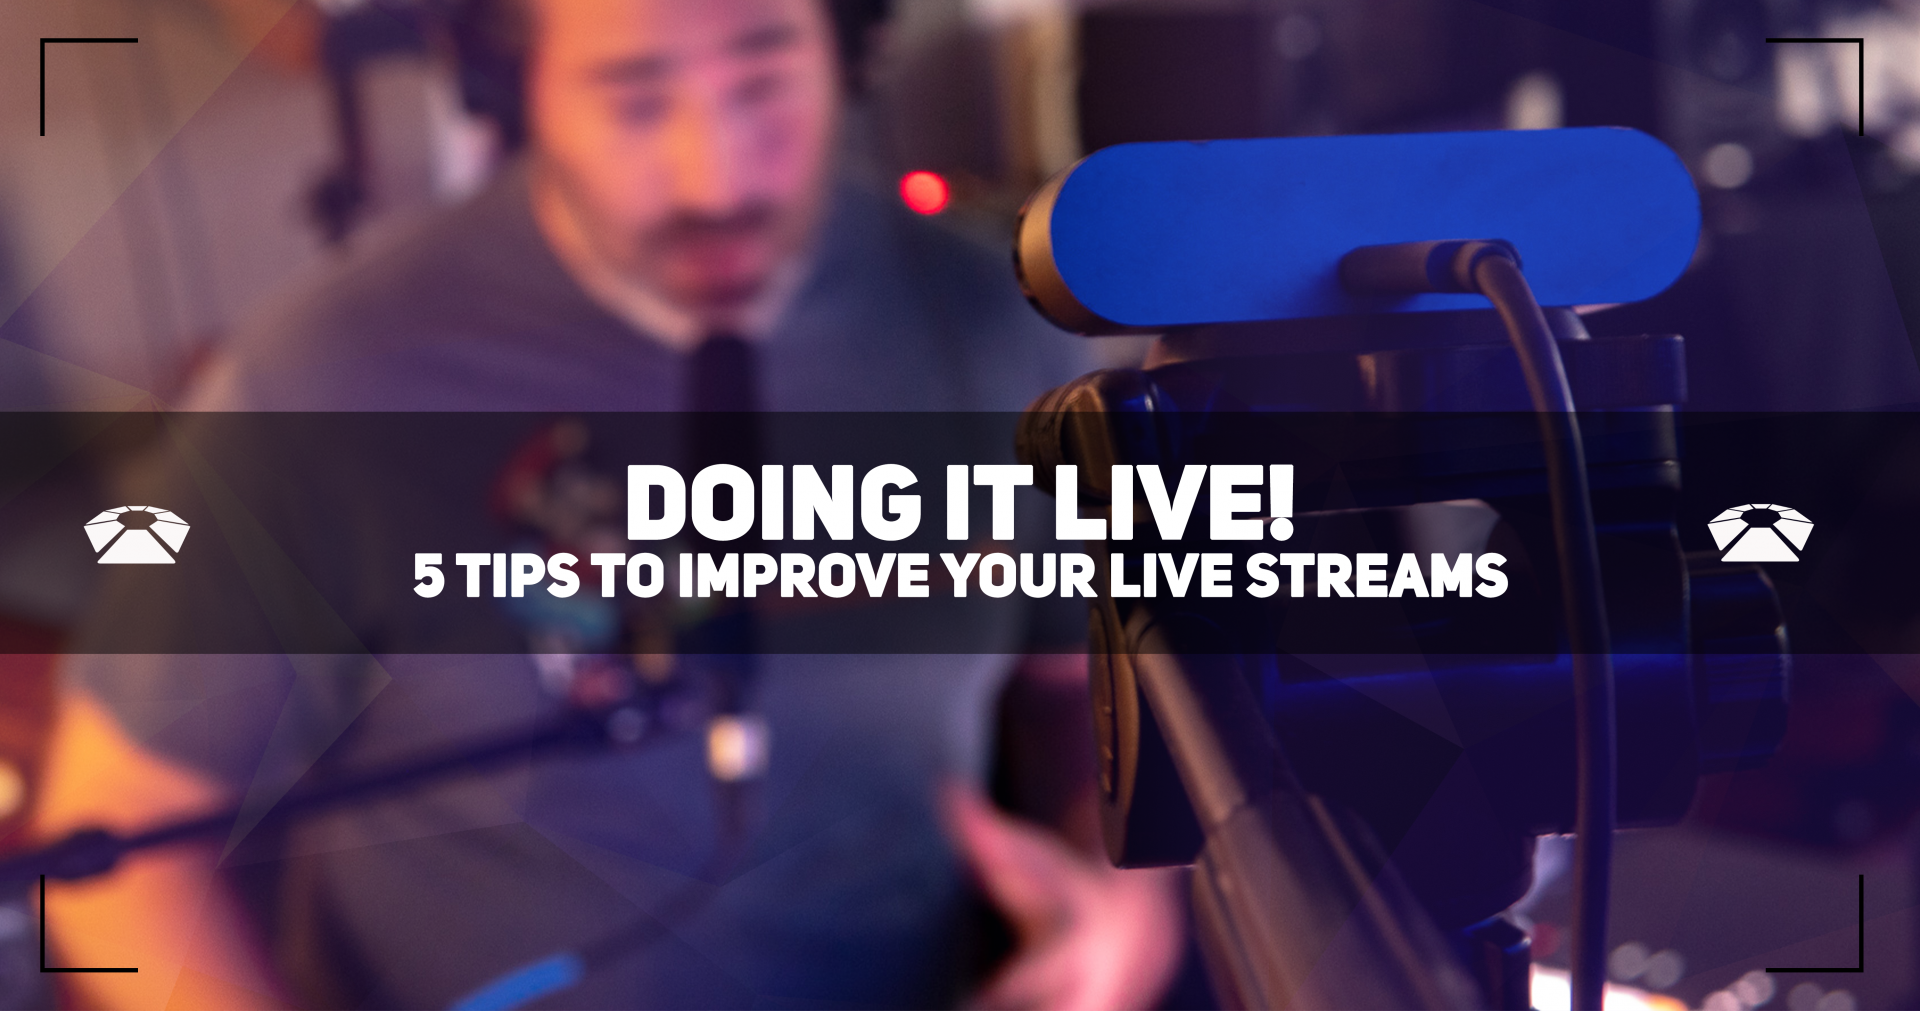
Doing it Live! 5 Tips to Improve Your Live Streams
With the insurgence of COVID-19 and the widespread practice of social distancing, conventional concerts have been erased from our near future. The live-music industry has been turned upside down; however, many artists have found alternatives.
One of the most popular alternatives is live streaming. Live streaming is so widely accessible by performers that you can do it with just your cell phone or laptop.
If you have experience with live streaming, or you are interested in getting your feet wet, below are five tips on how to provide quality live streams to keep your fans engaged and coming back.
We’ve placed some Amazon links throughout this article if you are interested in purchasing gear. We aren’t explicitly promoting the products we selected, we just trust their decent ratings, so please do your own research when comparing products. We will make some commission on any purchases you make via the links below.
[su_divider top=”no”]
1. Improve Your Visuals
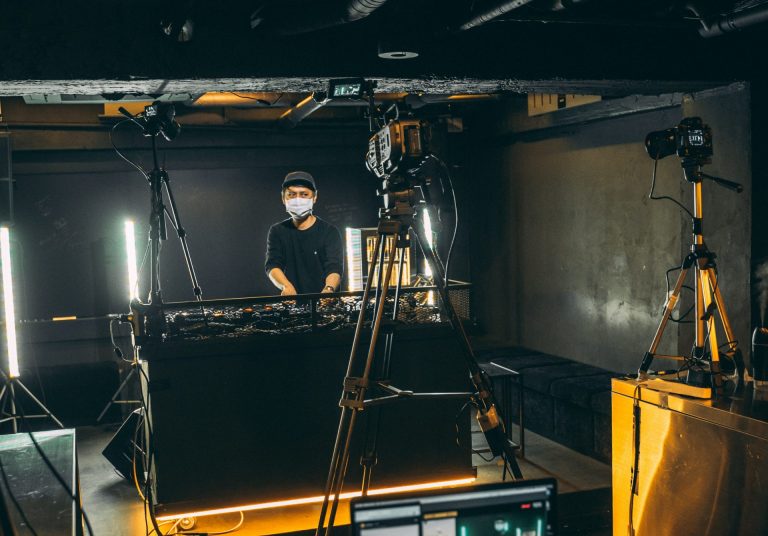
If you aren’t already doing so, use a webcam or a DSLR to capture your live streams. While your phone or computer may have a built-in webcam that works well enough, its quality will not match that of any professional webcam or DSLR.
DSLRs provide the best picture quality; however, setting up a DSLR for live streaming can add several extra steps to your process and will likely require an adapter.
Webcams are not as clear as DSLRs, but many provide a relatively clear picture (some webcams offer software that allows users to adjust the color, light balance, and focus of the shot). The vast majority of webcams are ready to use out of the box, which gives you more time to live stream. Additionally, webcams are significantly cheaper than DSLRs. There are many webcams that cost under $100 and provide 720p or higher.
Another draw of using a dedicated camera (DSLR or webcam) is that you have increased mobility. Webcams and DSLRs are made to be mounted, which can provide some great, professional angles that a laptop or monitor will not. If you are doing a studio tour or moving around your space, it’s much easier to walk around a room with a camera in your hand than a laptop (or desktop).
The other half of getting get visuals is your lighting. Read below to learn more about video lighting.
[su_divider top=”no”]
2. Improve Your Lighting

Any professional video shoot will utilize some type of dedicated lighting. Relying on natural light from your windows, or from your household lamps may not produce the best looking results. That’s why it’s worth it to invest in a dedicated lighting setup.
Studio lights are relatively inexpensive nowadays, but you can always DIY it if you prefer to not have extra gear lying around your apartment. If you have floor lamps with adjustable arms, you can swap out the light bulbs to accommodate the look you’re going for.
The first thing to know about lighting is the color temperature. The color temperature spectrum ranges from warm (yellowish) to cool (bluish). Alternatively, the different ranges may be referred to as “Soft White” to “Cool White” to “Daylight”. Choose a color temperature that will compliment the mood you want to attain.
Next, you have to decide how bright you want the lights. That’s where Lumens come in. Brighter lights will highlight your subject, but may too intense if overdone. Buying a dimmable bulb with a dimmer switch will give the option to adjust brightness accordingly.
If you prefer to invest in some professional gear, there are many affordable options available. Check out a few options below.
Any of those options will instantly improve your lighting situation without breaking the bank. Once you’ve taken care of your visuals, it’s time to consider your audio.
[su_divider top=”no”]
3. Get Good Audio
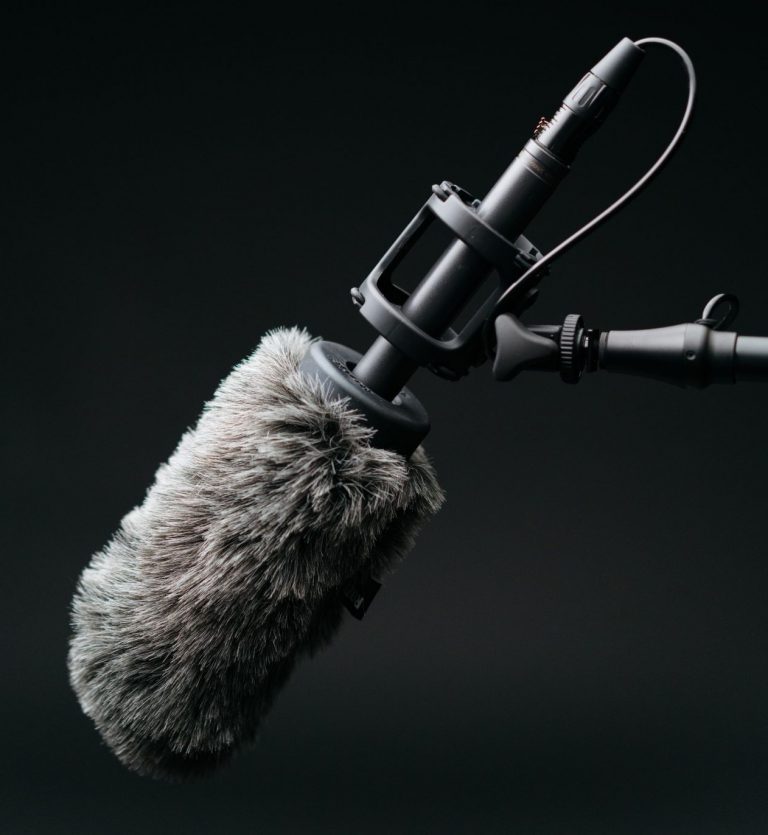
Treat your live stream as a gig. While your audience may care about visuals, they are ultimately there for the music. So, prioritize sound quality! Many streaming services, like Twitch.tv and YouTube live, allow streamers to select their sound source, which means you can live stream in high quality. Certain live streaming services do not allow this and you may not be able to get high-quality sound. Do your research before settling on a streaming platform.
Below are two audio boxes to tick before doing your next live stream.
[su_divider top=”no”]
Use An Audio Interface
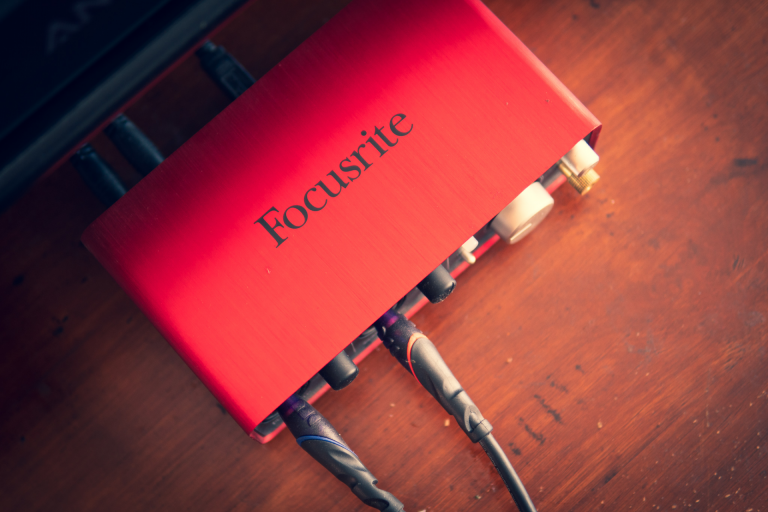
For those who plan to perform with instruments and/or vocals, you need to use an audio interface to get quality sound. If you do not have one yet, check out our article on choosing the right audio interface.
Having a solid audio interface will drastically improve the sound quality of your live streams. Ultimately, your live stream setup will depend on the instruments you are using.
I play multiple instruments during my live sets and my interface only has two inputs. My workaround? I plug all of my instruments into a mixer and route that into my audio interface.
If you program music and plan on live streaming a production session through your DAW, you don’t need an audio interface, but you will need to route your audio using what’s covered in the next tip.
[su_divider top=”no”]
Use a Virtual Audio Device
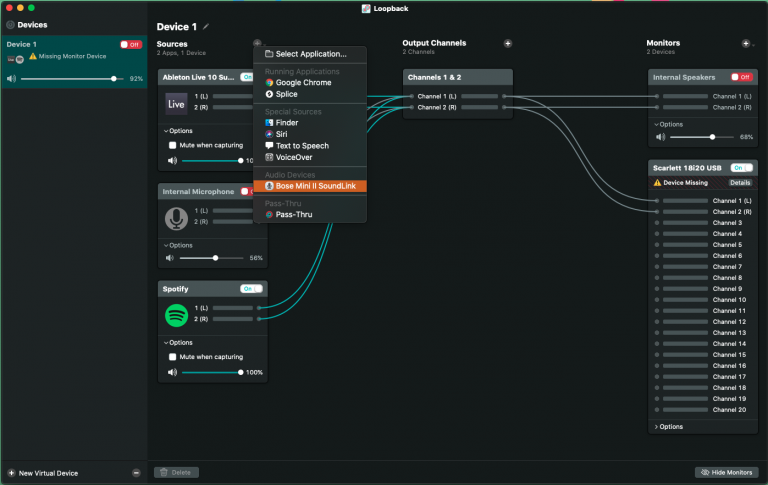
A virtual audio device allows users to route their audio sources to specified software, or hardware outputs. This enables you to send your DAW’s audio to streaming platforms. Many live streaming platforms require use of a broadcast program like OBS to stream your visuals and audio.
Using a virtual audio device enables you to route your audio to OBS, which in turn acts as your live stream’s audio.
A popular virtual audio output device is Soundflower, a free extension for MacOS. Soundflower has been a common choice for mac users for years, but MacOS Catalina does not support it. Check out our article on the application that replaced it, Loopback Audio.
For Catalina users, Blackhole is a free alternative that works as well. For Windows users and Mac users looking for alternatives to Loopback or Blackhole, here is a list of other options.
Each virtual audio device works differently, so make sure to research what each one offers and decide which is best for you. If you are having trouble figuring out how to use your virtual audio output device, there are plenty of “How to Set up” tutorials on YouTube. If you cannot find any for yours, read the manual or find a forum.
Most important tip: Test your audio before you live stream!
[su_divider top=”yes”]
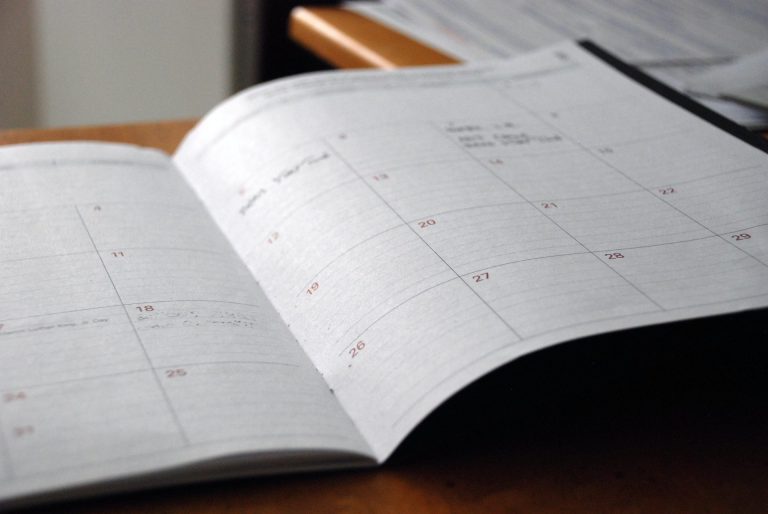
4. Create a Live Stream Schedule
Humans are creatures of habit and comfort. While the element of surprise is nice from time to time, knowing what to expect gives people confidence.
This is why it is important to create a consistent schedule for live streaming. Consider how often you feel comfortable live streaming.
Do you want to live stream multiple days per week? once a week? once every other week? After you make this decision, pick which day(s) you plan to live stream and tell your fans. Make a simple announcement like te one below,
“Hey, everyone, I’ll be live streaming every Monday afternoon at 2 PM EST. Come watch me make some beats at: https://youtube.com/…”
The point is, people need to know that you’re live streaming when it happens. So make a schedule and spread the news!
[su_divider top=”yes”]
5. Take Notes and Be Open to Making Mistakes
Perhaps one of the most vital steps to growth is the ability to learn from one’s mistakes. This applies just as much to live streaming as it does any other facet of music or life.
Unless your live streams are pre-recorded, chances are that you’ll make a mistake down the line. The trick is to move past your blunder with such a deft elegance that your audience will have no idea you goofed. Recovering from your mistakes is a key factor in providing a professional live stream.
Now, take this a step further. Record your live streams and watch them. Look and listen for shining, beautiful moments and take notes. Study why it sounds good and add your sonic victories to your production/performance repertoire.
Look and listen for common mistakes. Study why you continue to make these mistakes and correct them. If you continue to make the same mistake and never correct it, you cement that mistake as acceptable and justify the continuation of it. This is how bad habits are formed. Combat this and overcome.
[su_divider top=”yes”]
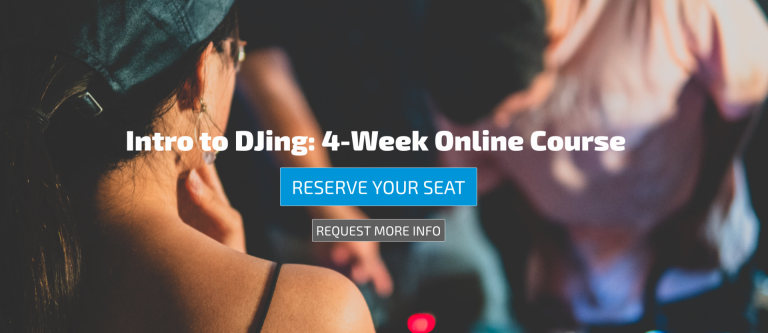
Want to Put Your Skills Into Practice?
Check out Beat Lab’s 4-week Intro to DJing Online starting May 17! Over the four-week course, you will dive headfirst into the fundamentals of DJing, from finding the best music, to mixing and performing it via Live Stream.
Our DJing courses feature assignments that will help you master the curriculum through regimented practice and real experience. Click below to check out the class!
[su_divider top=”yes”]
Recommended Modules
[su_row]
[su_column size=”1/3″] [/su_column]
[su_column size=”1/3″] [/su_column]
[su_column size=”1/3″] [/su_column]
[/su_row]
[su_button url=”https://beatlabacademy.com/modules” style=”ghost” background=”#303133″ color=”#303133″ size=”12″ wide=”yes” center=”yes” radius=”20″ icon_color=”#303133″ class=”custombuttonsyeuda”]Beat Lab Modules[/su_button]
[su_button url=”https://beatlabacademy.com/blog/” style=”ghost” background=”#303133″ color=”#303133″ size=”12″ wide=”yes” center=”yes” radius=”20″ icon_color=”#303133″ class=”custombuttonsyeuda”]Back to Blog[/su_button]
Featured Masterclass


0 responses on "Doing it Live! 5 Tips to Improve Your Live Streams"