


Get Hands On! – 5 Tips for Ableton Push
Push has been out for several years now, but it remains a powerhouse for many producers and performers of all backgrounds. The main reason Push has become such a crowd favorite is its versatility.
At Beat Lab, we have grown extremely fond of Push ourselves! So much so that we created our own Push course. In this article, we’ll share several of our favorite tips to help ramp up your Push use and increase your production potential!
[su_divider top=”no”]
Easily Assign Choke Groups for Drums
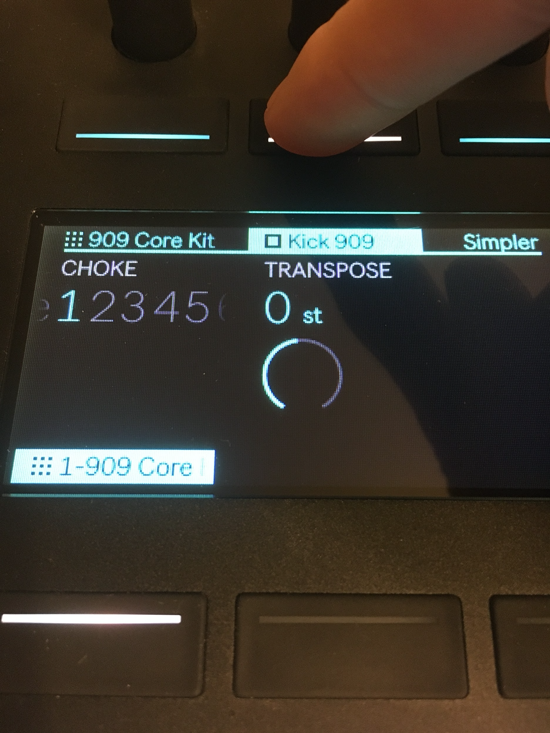
Push makes creating drum racks a breeze. One instrumental aspect of creating a drum rack with hits that work together and don’t clash is assigning choke groups to drum hits.
For those unfamiliar with choke groups, they are used to keep two drum hits from playing at the same time, to keep a groove from sounding messy. This is especially useful for hi-hats.
In Device mode, make sure your Drum Rack is selected. Tap a drum rack pad. Its choke group will be visible (its transposition will also be visible to the right). Assign a choke pattern (certain drum hits might not need a choke pattern, so choosing NONE is okay, too). Now, tap a different pad.
The newly selected pad’s choke assignment will be visible, as well. This allows you to quickly choose choke groups for your drum racks. Assigning choke groups to your drum hits will make them sound more realistic and expressive.
[su_divider top=”no”]
Make Fine Adjustments With the Shift Button
It can be easy to look at Push as a completely new entity. The layout and interface require a bit of familiarizing, but after solid use, it becomes clear that Push is an extension of Ableton Live.
Many of the functions you’re used to in Live can be translated to Push.
One of those is the use of the Shift modifier. On the computer, we use Shift to make small, controlled adjustments of levels and values. Push uses the Shift button in the same way.
When adjusting a parameter, hold the Shift button. Notice the change becomes much more incremental. This is extremely helpful for doing more focused and detail-oriented work, such as EQing or setting the threshold of a Compressor.
[su_divider top=”no”]
Put Multiple Effects’ Parameters in One Place Using Audio Effect Racks
For those who are currently performing with Push, or those are interested, check out this helpful tip!
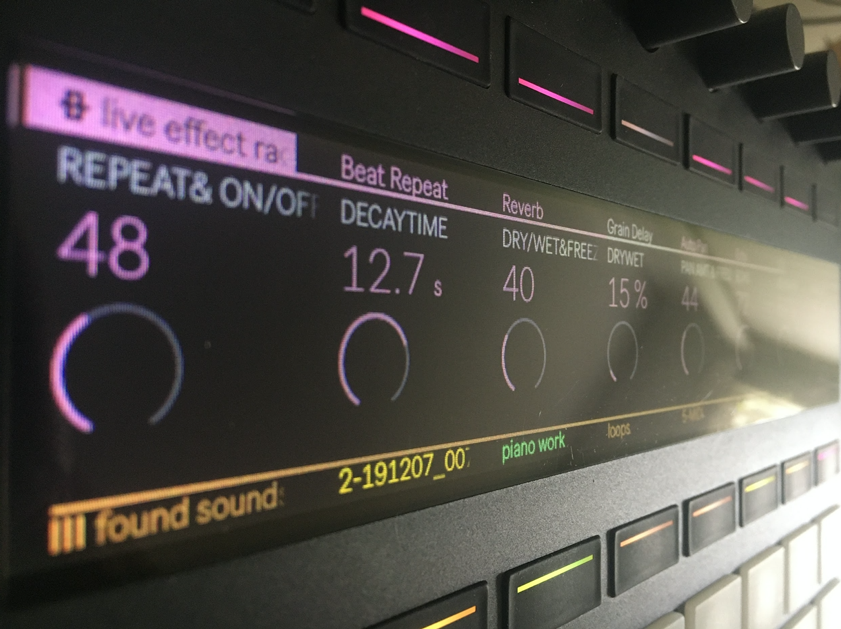
Rather than having to scroll through a bunch of individual effects to access parameters, put them all in one, easy-to-access place! On one track, group all of your effects into an Audio Effect Rack. Once the effects are all in the rack, begin to right-click parameters and Map them to macros of the Audio Effect Rack. Multiple parameters can be mapped to the same macro; this enables you to adjust multiple effects with a single encoder on Push.
It is a wise step to rename the macros using the name of the device and the parameter that’s mapped. Abbreviate if necessary. You’ll have to use your computer to do this.
After you’ve finished mapping and renaming macros, make sure Push is in Device mode and select the Audio Effect Rack using Push’s corresponding top display button (you may have to scroll through devices to get to it). Now, all the track’s parameters are in one place!
[su_divider top=”no”]
Slicing Mode with Push
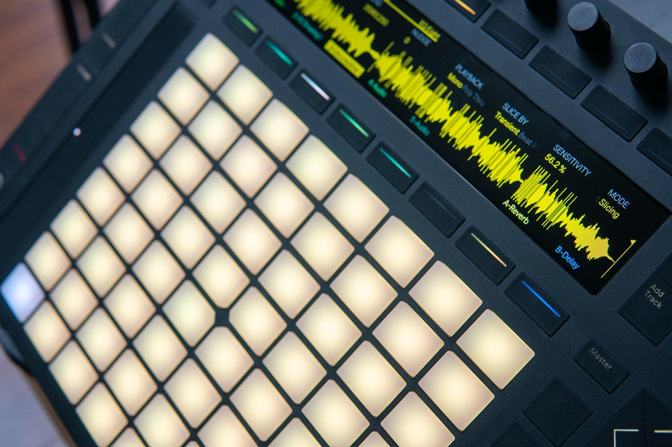
A major draw of Push is the integrated use of Simpler, which makes Push a solid competitor to dedicated samplers. What’s even sweeter is the way that Push acts with Simpler’s Slicing Mode.
Load a sample into Simpler and find the Mode encoder above the far right corner of the display. Turn it to select slicing. Notice the pads light up. These indicate that the sample has been chopped into slices. By default, Slicing mode is set to SLICE BY Transient. Under this setting, Simpler creates slices based on the transients (loud points) of a sample. One way to adjust the length of the slices, lower the value of the Sensitivity (use the corresponding encoder). That will lower the number of slices and end up in longer slices, giving you a less choppy sample.
[su_divider top=”no”]
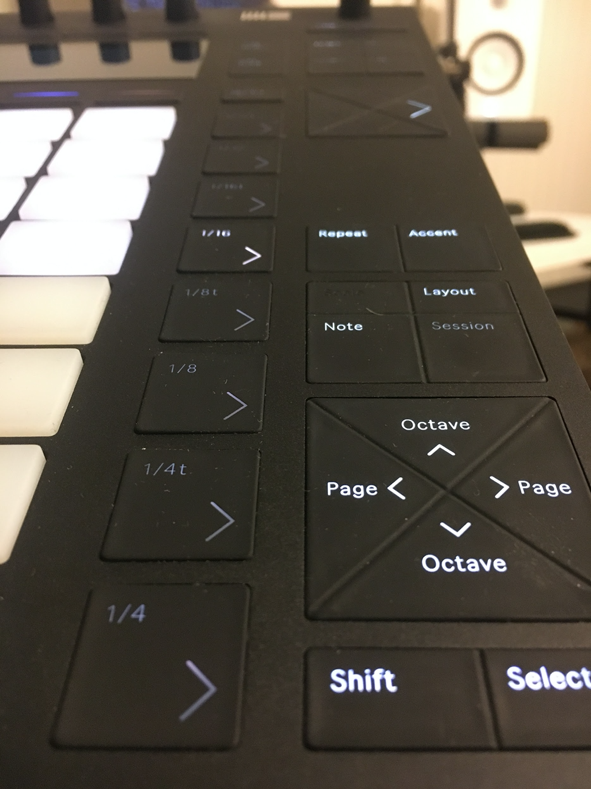
Use Push’s Touch Strip as a Modwheel
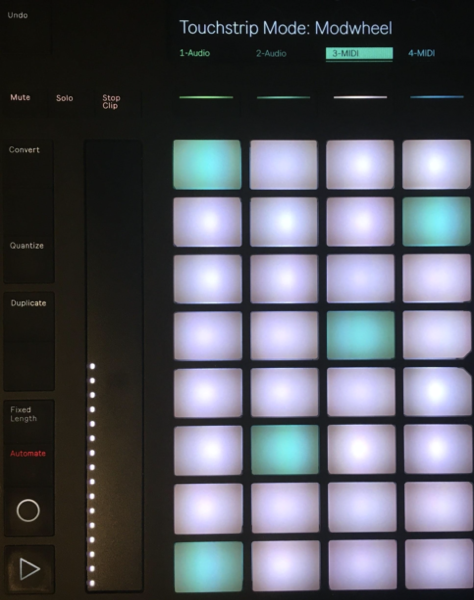
In Note Mode, Push’s Touch Strip acts as a pitch bend. However, this is not its only function. The Touch Strip can also be used as a Modwheel! To enable Push’s Modwheel function, hold Select and tap the Touch Strip. Notice how the dot on the left-hand side of the Touch Strip becomes a series of lit dots. These indicate the value of the Modwheel.
Keep in mind that the Modwheel only works if the preset you are using has a parameter assigned to be modulated. This even works with certain third-party VSTs, as well.
Go have fun with it!
[su_divider top=”no”]
Want to Learn More?
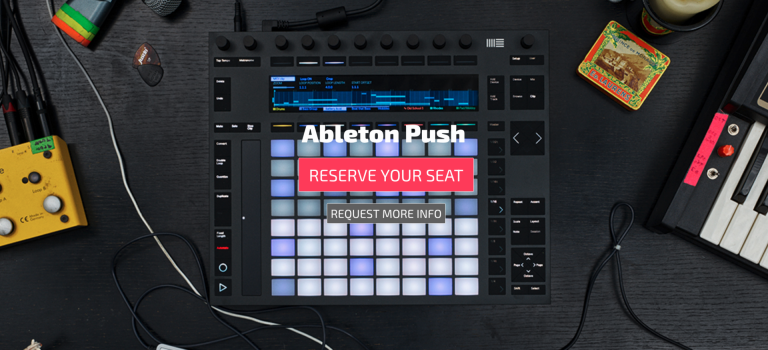
Check out Beat Lab’s Online Push Course, starting April 26! Over the six-week course, you will dive headfirst into learning all functions of Push, from playing and programming loops using its different layouts, to mixing and performing your songs. Our Push Course features assignments that will help you master the curriculum through regimented practice and utilization. Click here to check out the class!
[su_divider top=”no”]
Recommended Modules
[su_row]
[su_column size=”1/3″] [/su_column]
[su_column size=”1/3″] [/su_column]
[su_column size=”1/3″] [/su_column]
[/su_row]
[su_button url=”https://beatlabacademy.com/modules” style=”ghost” background=”#303133″ color=”#303133″ size=”12″ wide=”yes” center=”yes” radius=”20″ icon_color=”#303133″ class=”custombuttonsyeuda”]Beat Lab Modules[/su_button]
[su_button url=”https://beatlabacademy.com/blog/” style=”ghost” background=”#303133″ color=”#303133″ size=”12″ wide=”yes” center=”yes” radius=”20″ icon_color=”#303133″ class=”custombuttonsyeuda”]Back to Blog[/su_button]
Featured Masterclass


0 responses on "Get Hands On! - 5 Tips for Ableton Push"