Getting in the Groove – 6 Tips for Programming Realistic Drums
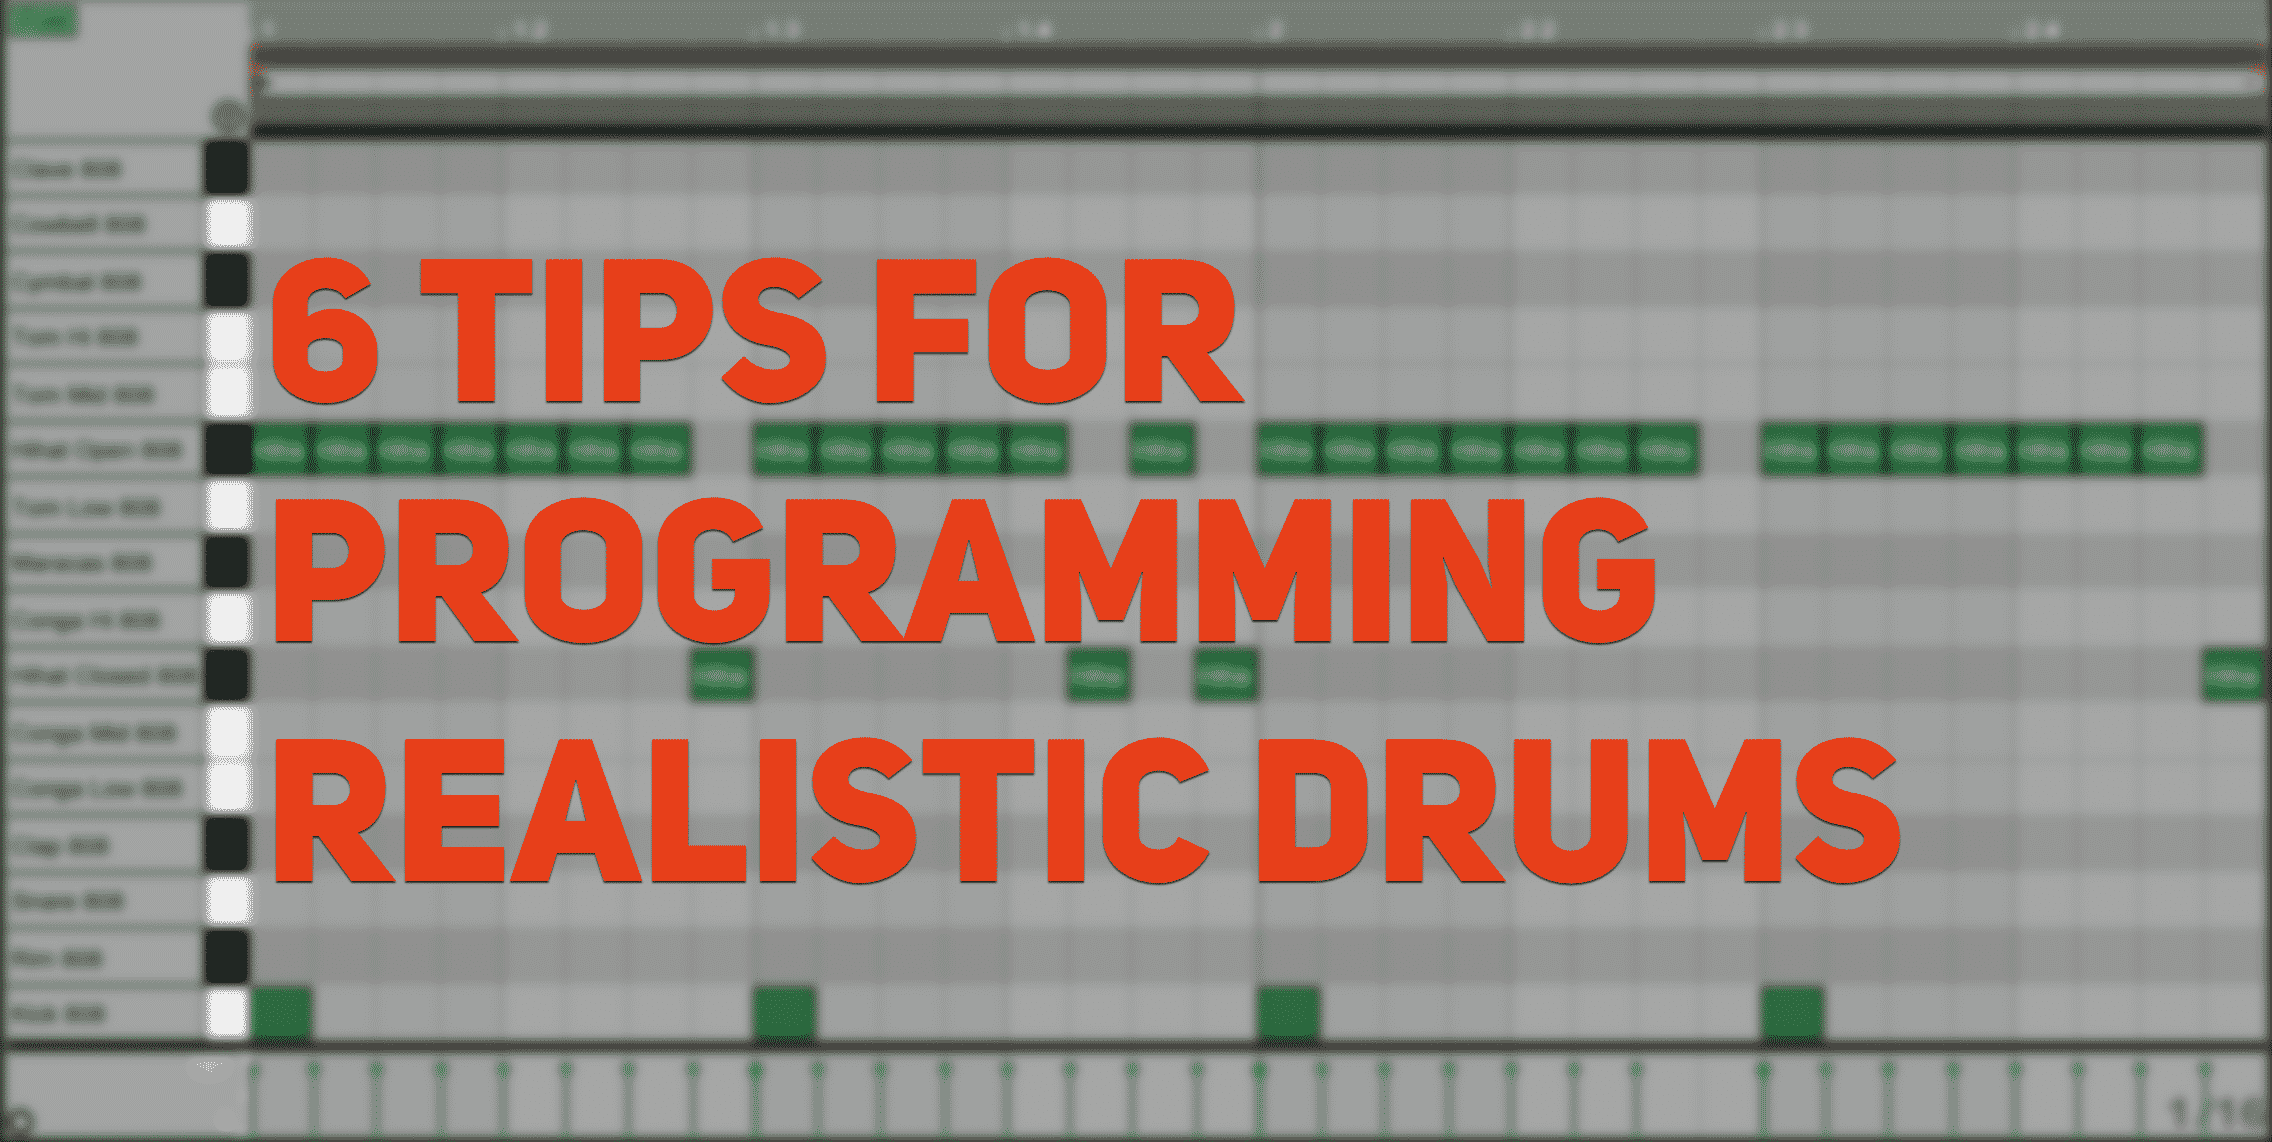
It’s a great time to be a music producer. You can produce full songs with nothing more than your laptop and a DAW. While getting good drum sounds is easier than ever with more and more options expanding beyond the limitations of old drum machines, even with good drum sounds your tracks may feel like they are missing something. That something is often the groove, with your rhythm locked in so tight to the grid that your drum programming feels programmed as opposed to feeling played in by a real human being. We’ve got some tips below to help you spruce up your drum programming even if you aren’t a good drummer yourself.
[su_divider top=”no” divider_color=”#d2d2d2″ size=”1″]
1. Tonal Variation
As much as we try, human beings aren’t machines and therefore will introduce variation into drum playing naturally. Each hit of a drum will have a unique tone slightly different than the one before it and after it, so it’s important to add those subtle nuances into your programming. The easiest way to do this is to use a plugin that uses Multi-timbral Samples which swaps drum samples constantly while playing the programmed MIDI notes. MT Power Drums is a very capable plugin that uses Multi-Timbral Drum Samples and it’s free! If you feel more comfortable using your own samples, a simple way to recreate the process is by automating slight changes in velocity, pitch, stereo placement, frequency content (use and EQ or Autofilter). The point is that drums sound different in real life, so help them sound that way when programming.
[su_divider top=”no” divider_color=”#d2d2d2″ size=”1″]
2. Timing Variation
In addition to tone, timing is key to bringing a realistic feel to your drum programming. Introducing slight timing variations in your programming will add the sway of a real-life drummer and add energy to your song. J Dilla is infamous for his swung beats that pull and push the rhythm forward with slightly offbeat snares and hi-hats. You can achieve similar feels by manually pushing your sample/MIDI notes forward a few beats or dragging them back a few beats. Whichever you choose you only need to do to a few to achieve a groove, then feel free to copy and paste from there. If you use a drum plugin that has a ‘randomize’ feature for the timing then use it! If you’re using Ableton Live then utilize the Groove Pool’s ability to do this.
[su_divider top=”no” divider_color=”#d2d2d2″ size=”1″]
3. Phrasing Variation
Drummers are typically responsible for holding down the groove and tempo of a song, but as much as they are responsible for repetition they are responsible for spicing up the beat. To make your programming more realistic you have to mix it up like a real-life drummer – adding a drum fill before each section change is a good start, but also throw in fills for energetic emphasis throughout the song. Switching the hi-hat pattern for different sections of your song can add anticipation and then allow you to defy those expectations. It’s easy to become overwhelmed by the thought of adjusting each individual drum hit, but start by breaking down each section of your song, then work in 4 or 8 bar patterns. It will go by much quicker than you realize if you chop away at the little pieces one-by-one rather than getting ahead of the process in your mind.
[su_divider top=”no” divider_color=”#d2d2d2″ size=”1″]
4. Four Limbs = Four Hits
Human drummers most often are limited to their four limbs – two arms and two legs – and thus are only capable of hitting four pieces of the drum kit at the same time. If your drum programming is attempting to sound human but has become too cluttered or busy it will sound unrealistic. Remember that a drummer can’t be using both hands to play a tom fill AND be hitting the hi-hats at the same time, while the average listener may not think about those logistics they will recognize that it doesn’t sound right. Though having separate percussion players in a band is not unheard of, the same rule applies to any percussion instruments being played.
[su_divider top=”no” divider_color=”#d2d2d2″ size=”1″]
5. Stereo Placement
Drum Kits occupy a unique space in a mix in that they can have their individual pieces placed throughout the stereo field, but will be perceived as one instrument that holistically creates the rhythm. Kits are often placed according to the dominant playing hand of the drummer, so Hats will be on one side while Toms will be on the opposite. Typically the kick and snare are panned dead center due to their low-frequency content, while toms and cymbals are panned outside of center on either side; clearing those other pieces out of the middle will also allow space for the rest of the drums and your other instruments/vocals.
[su_divider top=”no” divider_color=”#d2d2d2″ size=”1″]
6. Room Sound / Ambience
Another aspect of drums’ unique space in the mix is the space itself, also known as ‘room sound’, this sound is not much noticed if present but extremely missed if not. Drums recorded in a garage, studio, closet, bedroom, etc. will each have a reverb that is representative of the room the drums were recorded in. Drum samples often include that room sound included in the sample, but plenty of samples don’t if they were recorded in a more treated recording environment that dampened reverb. Sending your whole drum bus to a reverb is the easiest way to achieve a cohesive room sound, but for more control send the individual pieces to the same reverb to create a space for them to bounce around in.


0 responses on "Getting in the Groove - 6 Tips for Programming Realistic Drums"