


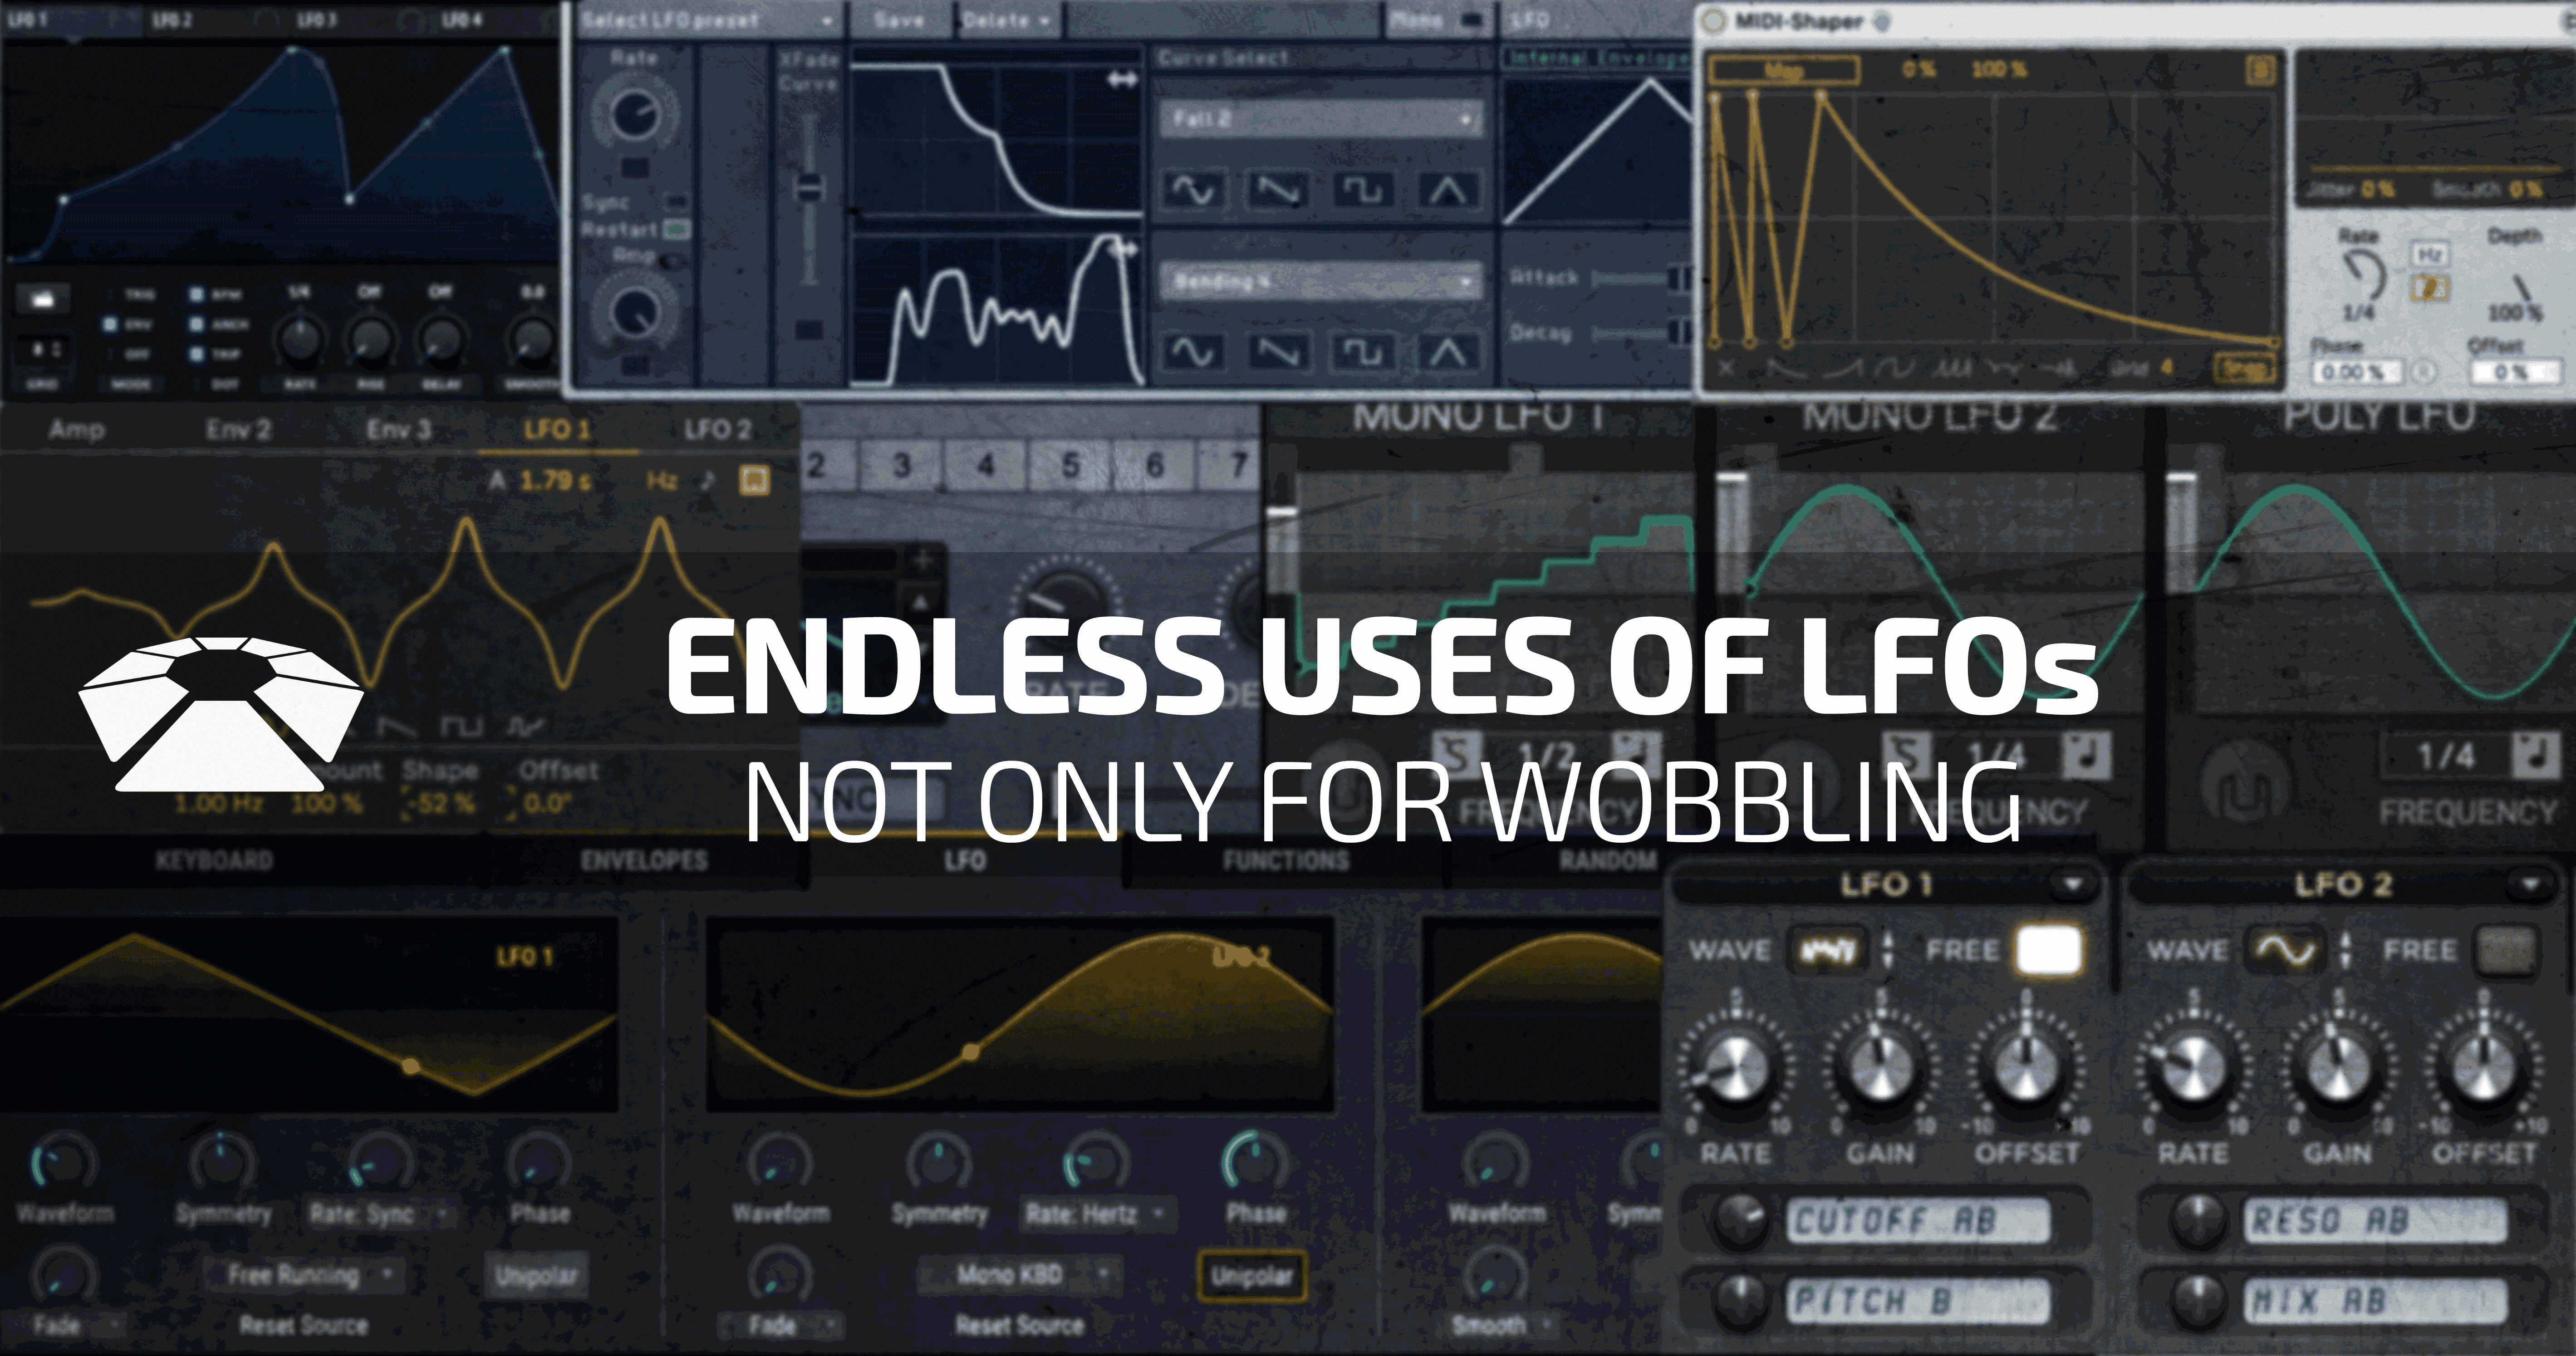
LFO or Low-Frequency Oscillator is one of the most used tools in the world of sound design and production. Many of the classic studio effects we can find in any DAW like Flanger, Chorus, Auto-Filter, Auto-Pan, Phaser and others have some use of an LFO. In simple terms an LFO allows us to wobble any parameter we want.
Not all LFOs are created equal but there some controls that we will expect to find on most if not all units.
A basic understanding of these controls can help us get the most out of the LFOs whether we use them in Synthesizers, effects or with Max for Live/Modular gear.
[divider style=”clear”]
LFO Controls
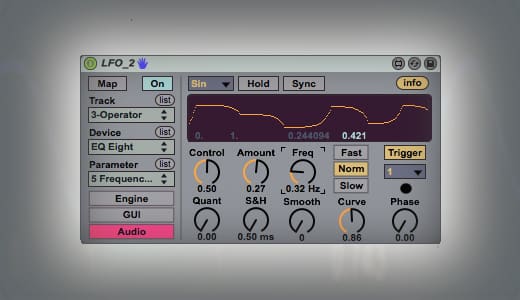
Rate – Change the speed of the LFO can be Free (Hz) or Sync (1/4, 1/8, 1/16 etc.)
Amount/Gain – Control the amount of modulation. How pronounced is the modulation.
Waveform/Shape – Change the movement type by changing the waveform.
Retrigger – Reset the phase with every new note
Phase – Change the starting point of the LFO
Attack – Change how to it takes the Modulation amount to reach the peak. Introduce the LFO gradually.
Delay – Delay the LFO start time
So what other things can we do with an LFO except for the classic wub wub? Let’s check it out.
[divider style=”clear”]
Tremolo
Tremolo makes the volume tremble. We can achieve this with a slow/fast LFO on the volume.
Ableton’s Autopan is a dual LFO volume control. By default, it turns down the volume of the left and right channels to create the auto-pan effects. We can cancel one of the LFOs by taking the Phase all the way down. Then adjust the Amount of the effect and the rate(speed) of the Tremolo.
[su_youtube_advanced url=”https://www.youtube.com/watch?v=oEFSyHeU8p4″ width=”400″ height=”200″ rel=”no” modestbranding=”yes” https=”yes”]
[divider style=”clear”]
Side Chain Pump
Similarly to Tremolo, We can use a Ramp Up Saw wave to mimic a side chain pumping effect.
Let’s see how to do it with the Auto pan.
[su_youtube_advanced url=”https://www.youtube.com/watch?v=GKXFw9X6rfE&” width=”400″ height=”200″ rel=”no” modestbranding=”yes” https=”yes”]
[divider style=”clear”]
Repeater
LFOs can be great to create a repeated Sequence. Put your LFO on Ramp Down Saw and map it to the Filter Cutoff.
Let’s see how to do it in Wavetable.
[su_youtube_advanced url=”https://youtu.be/QHMft_fdXuY” width=”400″ height=”200″ rel=”no” modestbranding=”yes” https=”yes”]
[divider style=”clear”]
Vibrato
The Vibrato effect can be achieved by applying an LFO to the pitch of the sound. In synths, the amount of the vibrato is commonly mapped to the Modulation Wheel on your MIDI controller.
We can find a built-in Vibrato in Ableton’s Analog.
But let’s create our own vibrato setup in Wavetable.
[su_youtube_advanced url=”https://youtu.be/mFxDIH4am4A” width=”400″ height=”200″ rel=”no” modestbranding=”yes” https=”yes”]
[divider style=”clear”]
Glitch/Stutter Effects
An easy way to get glitch/stuttering effects is to set the LFO to a Random (Noise/S&H) waveform and route it to the Volume/Amp.
Let’s check it out using the free Tyrell N6.
[su_youtube_advanced url=”https://youtu.be/11j1DWgrS6E” width=”400″ height=”200″ rel=”no” modestbranding=”yes” https=”yes”]
[divider style=”clear”]
Pitch Drift
An extremely slow and subtle LFO on the pitch can add an amazing vintage vibe to the sound. Similar to bands like Boards of Canada.
The trick is to have an extremely low LFO amount.
Let’s create a pitch drift keys patch using Analog.
[su_youtube_advanced url=”https://youtu.be/oIb2gBllIeQ” width=”400″ height=”200″ rel=”no” modestbranding=”yes” https=”yes”]
[divider style=”clear”]
Risers
LFOs are a great tool to add interest and intensity to risers FX sounds.
In this video, we are building a dense, complex riser using Serum.
[su_youtube_advanced url=”https://youtu.be/P8A3bEp__p4″ width=”400″ height=”200″ rel=”no” modestbranding=”yes” https=”yes”]
[divider style=”clear”]
Wobbler
The classic bass wobble from the early Dubstep days got replaced by wobbling chords for Future Bass. Whether you doing it for filth or harmony the concept is the same.
Let’s create a future wobble chord using the godfather’s son – Massive X
[su_youtube_advanced url=”https://youtu.be/Lmop1bNwKRs” width=”400″ height=”200″ rel=”no” modestbranding=”yes”]
[divider style=”clear”]
Fake Delay
This trick can be very useful in hardware synths that do not have built-in delay effects. If we set the Amp Envelope to have a long release. We can set an LFO to change the volume in a way that makes it sound like we just put a delay on it.
Let’s make a fake delay using the free Helm synth.
[su_youtube_advanced url=”https://youtu.be/wLtUG8Za9QU” width=”400″ height=”200″ rel=”no” modestbranding=”yes”]
[divider style=”clear”]
Clap Maker
With a custom shape LFO (AKA Multi-Stage Envelope generator or MSEG) we can take a noise generator and turn it into a clap sound.
Let’s use Ableton’s built-in Shaper effect to achieve this volume shape. We are using a special MIDI version of the Shaper that can be download for free HERE.
Let’s make a synthesizes clap using Operator.
[su_youtube_advanced url=”https://youtu.be/gcRWrDpltH8″ width=”400″ height=”200″ rel=”no” modestbranding=”yes”]
[divider style=”clear”]
Decay Amount Groove
Another cool trick to use with an LFO is to map the LFO to change the Decay amount on a sampler or a synth. This can create many different grooves depend on how you set up the LFO.
We’ll use the built-in DS HH(Drum Synthesizers) and the built-in LFO to demonstrate this trick.
[su_youtube_advanced url=”https://youtu.be/qtYVyY6IQkI” width=”400″ height=”200″ rel=”no” modestbranding=”yes”]
[divider style=”clear”]
Want more exclusive videos like these: Check out our Online program

Featured Masterclass


0 responses on "The Endless Uses of LFOs - It's not only for Wobbling"